
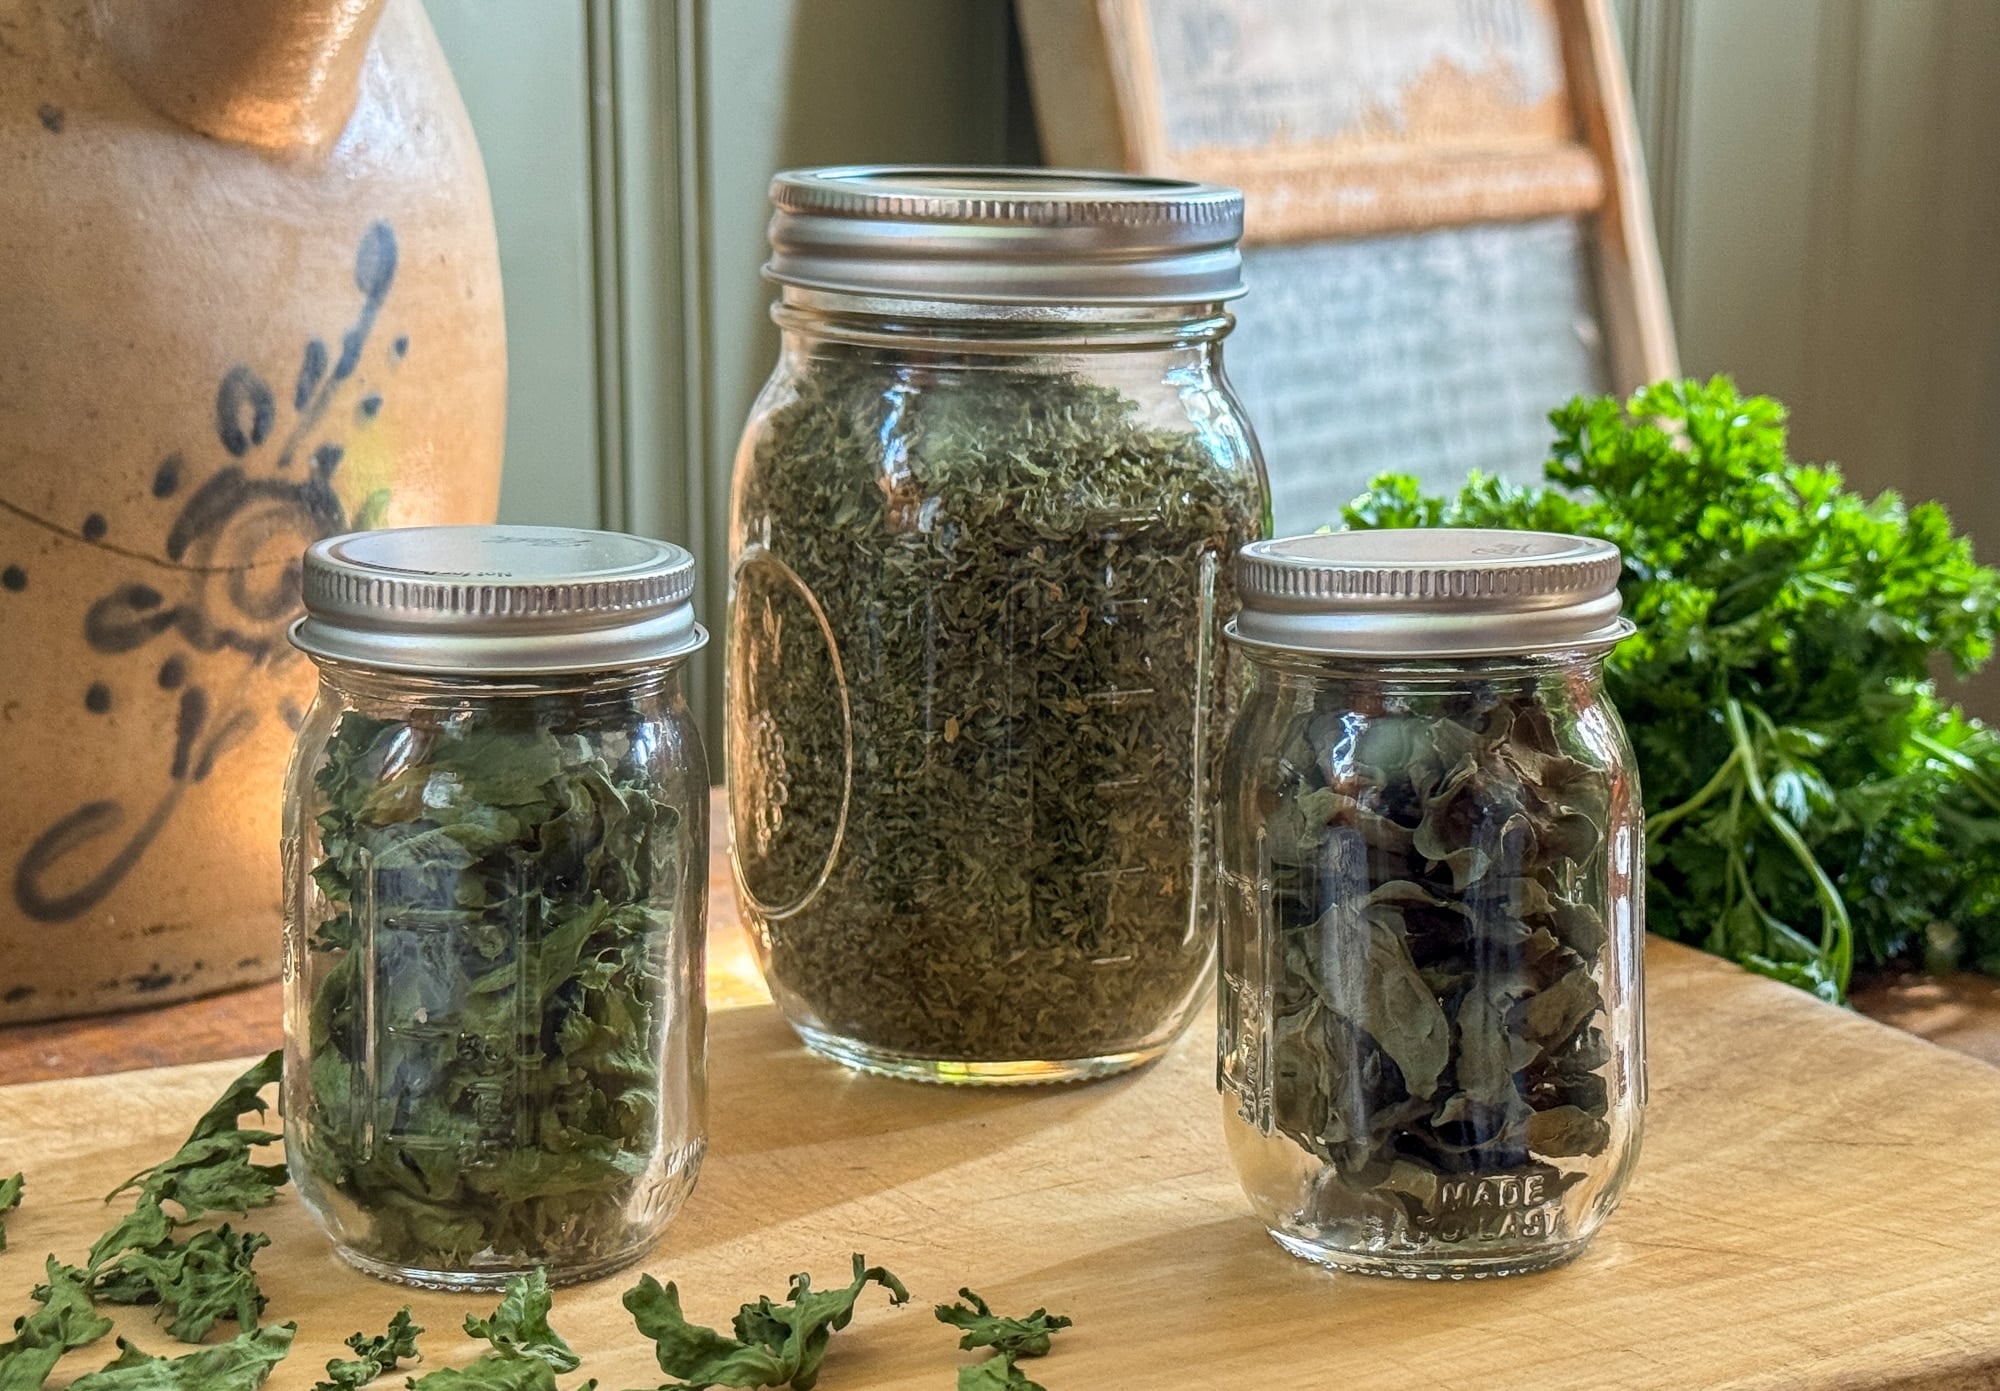
Dehydrating fresh herbs was one of the first food preservation methods I really dove into, and I’m still absolutely in love with it. There’s something so satisfying about it.
Here’s the thing, growing herbs is remarkably easy. And if you do a little planning, you can have fresh herbs all summer long AND put away enough dried ones to keep you going well after frost kills off your plants. I’m not exaggerating when I say a single thriving plant can give you a whole year’s supply once it’s dried.
The best part? Drying is genuinely the ideal way to preserve herbs. When you do it right, your dried herbs hold onto all those flavorful oils that make them special. They stay potent for 6–12 months, which is amazing. Plus, because all that moisture is gone, you don’t have to worry about bacteria, mold, or yeast sneaking in and ruining your stash. It’s one of those preservation methods that just works.
If you’ve never tried it, I really encourage you to give it a shot. It’s easier than you’d think, and there’s something wonderful about opening your pantry in the middle of winter and having all those herbs right there, ready to brighten up your cooking.
The Best Herbs to Dry (and One to Skip)
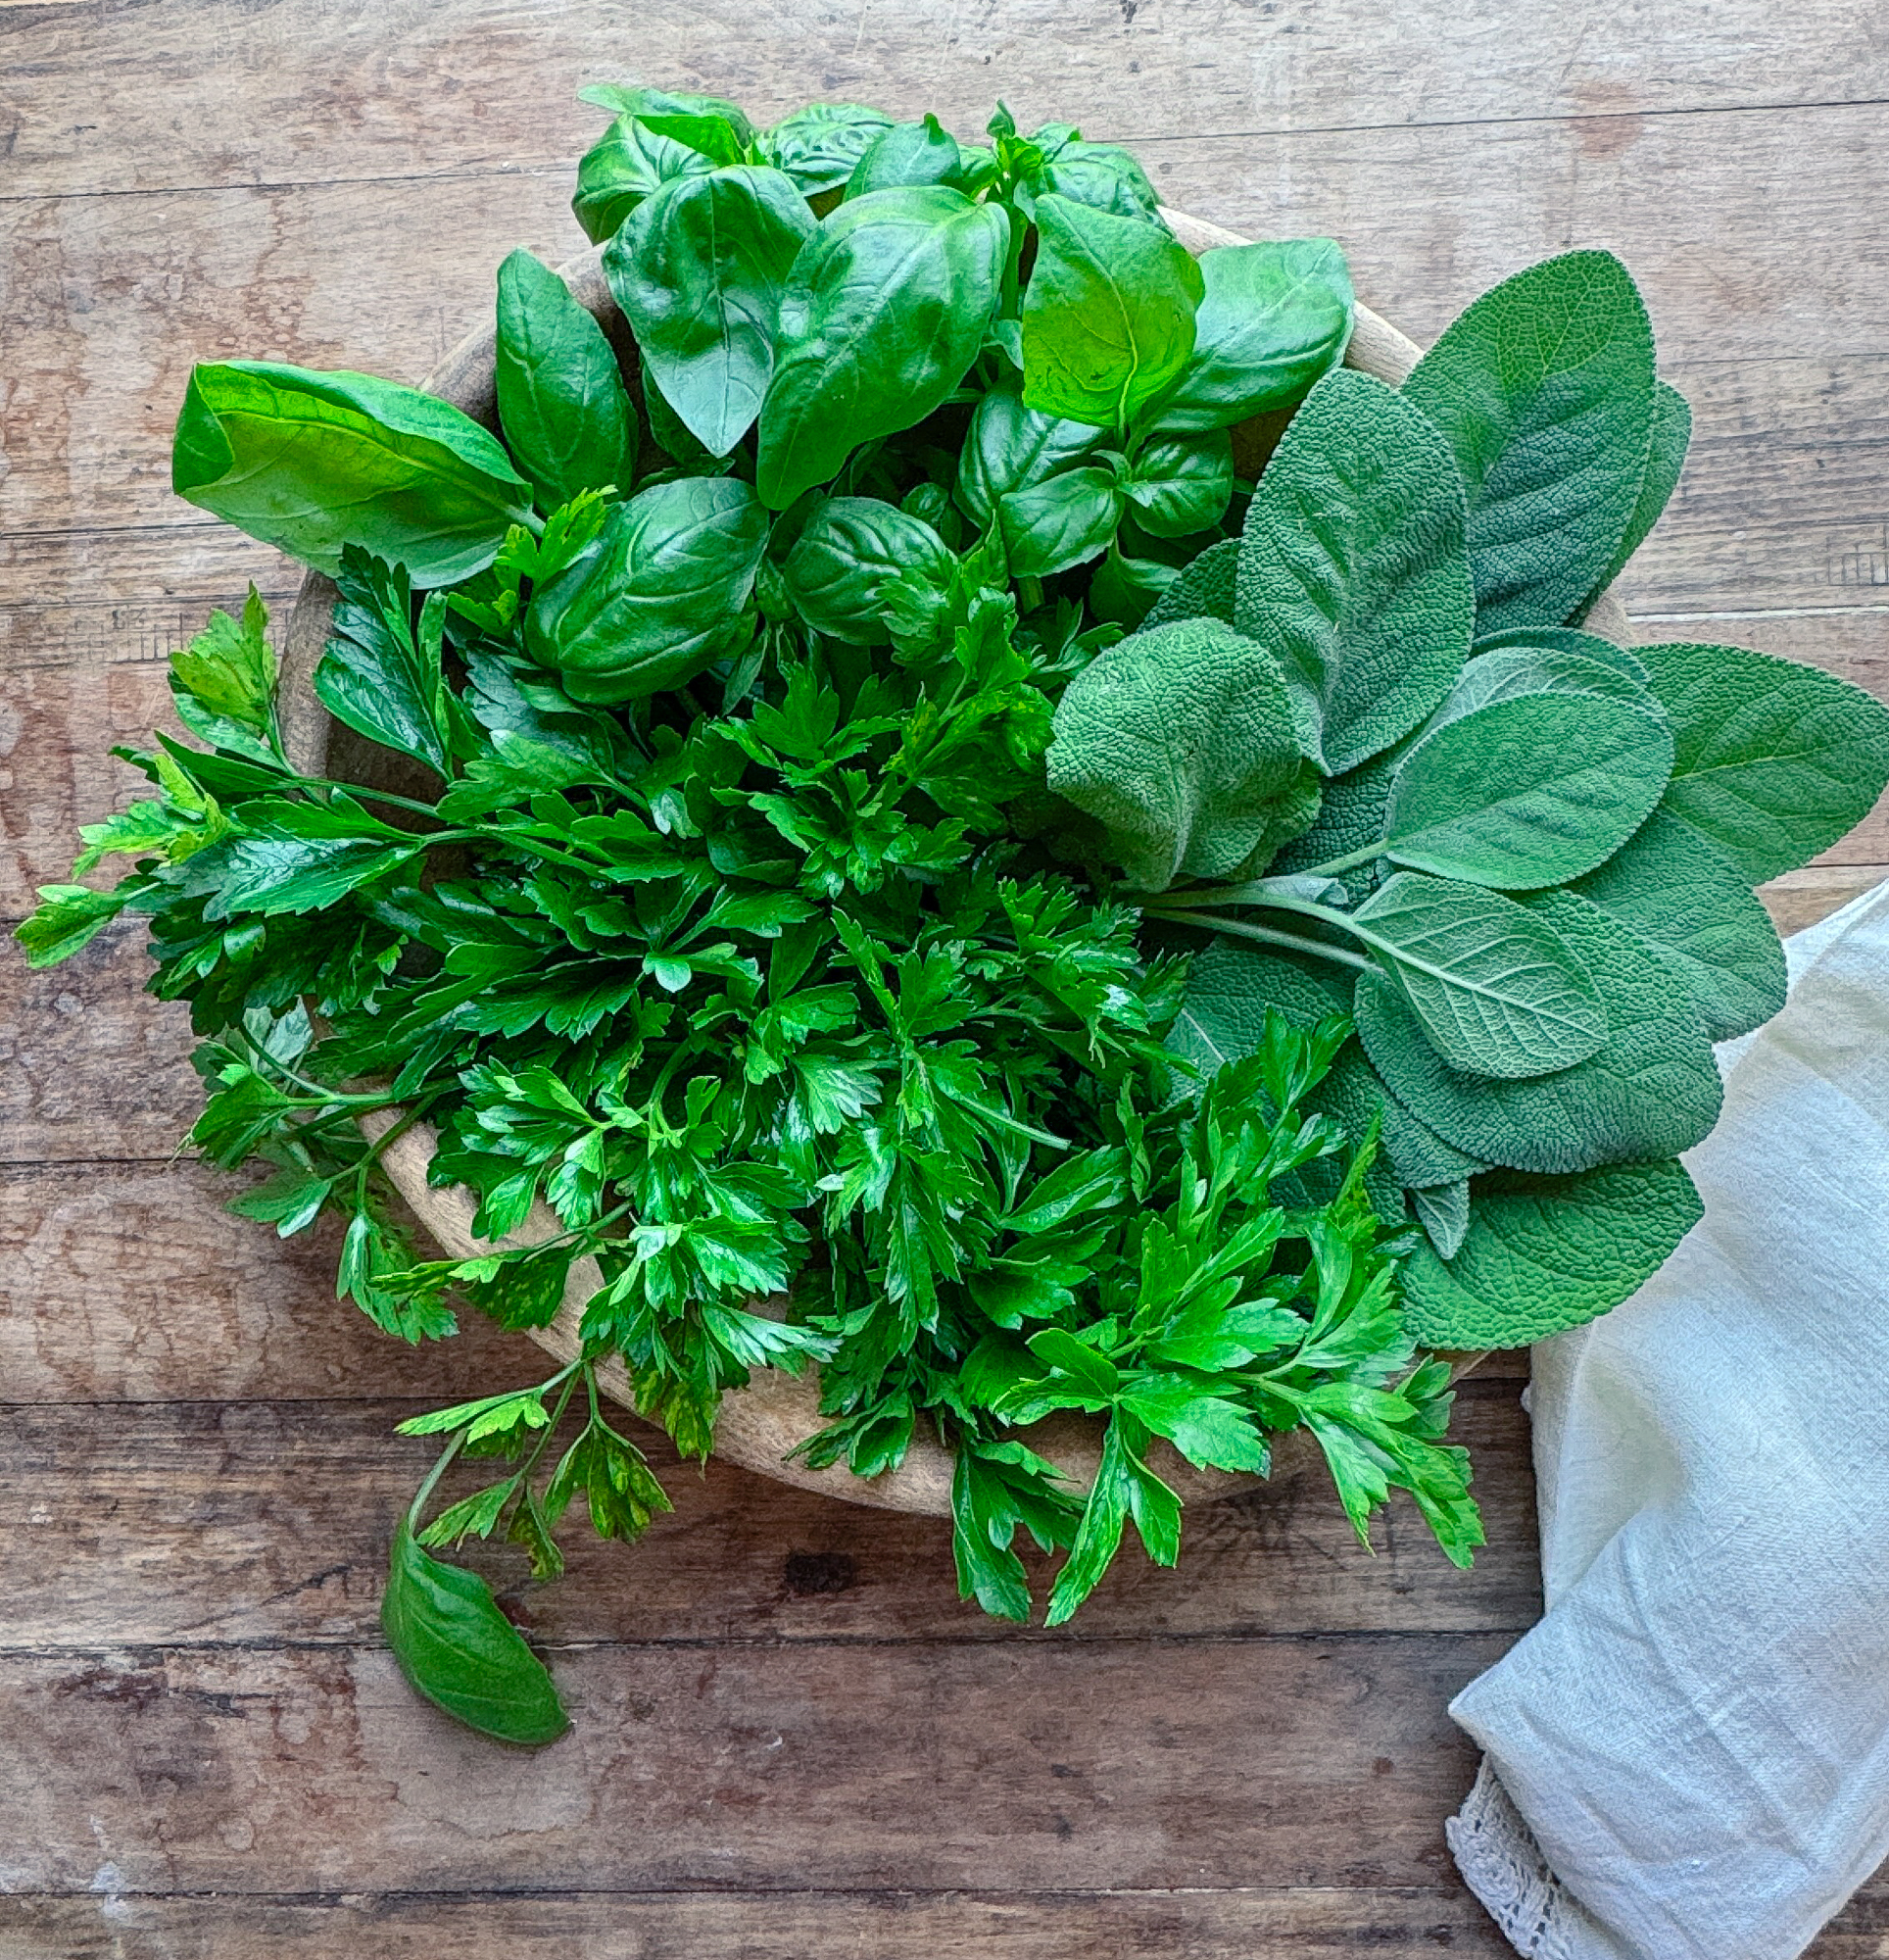
Here’s what I’ve learned works beautifully: the strongly flavored herbs are your friends. Basil, sage, mint, thyme, oregano, and rosemary all dry wonderfully and keep their punch. I reach for these constantly. Parsley is also absolutely worth drying—it’s milder, sure, but it adds such a lovely pop of color to winter soups and stews, and I love having it on hand.
Now, here’s the one I’d skip: cilantro. I know, I know—it’s delicious fresh. But honestly? It loses virtually all its flavor when dried, and it’s just not worth taking up precious tray space. Freeze it instead, or stick with using it fresh. Trust me on this one.
I have step-by-step guides for two of my most-harvested herbs: drying fresh parsley in a dehydrator and drying fresh basil. They’ll walk you through everything!
Harvesting Herbs for Drying
Here’s the thing about harvesting—once you get the timing right, it becomes second nature. Let me walk you through what I’ve learned:
- Start harvesting once your plant is established. Wait until it has enough foliage to keep growing strong, then you can take up to 75% of the current season’s growth at one time. It sounds like a lot, but the plant bounces back beautifully.
- Early morning is your sweet spot. Harvest after the dew dries but before the heat of the day really kicks in—that’s when the flavorful oils are at their strongest. I’ve noticed a real difference when I time it right.
- Harvest before the flowers appear. Here’s why this matters: once herbs start flowering, leaf production declines and some lose their flavor (chives especially). So catch them just before they bloom.
- Annual herbs are forgiving. You can keep harvesting them right up until frost hits—they’re done for the season anyway.
- Be gentler with perennials. Stop clipping about a month before your frost date so the plant can harden off and prepare for winter. They’ll thank you by coming back strong next year.
- Give them a gentle wash. Rinse your herbs on the stem in a large bowl of cold water, swirling gently to release any soil, dust, and bugs. It’s a simple step that makes a difference.
- Dry them well before drying. Spin them in a salad spinner or blot them gently between towels. The drier they are going in, the faster and better they’ll dry. I promise this step is worth the extra minute.
Method 1: Drying Herbs in a Dehydrator (My Favorite)
A dehydrator is my favorite way to dry herbs — it controls temperature and air circulation, which means consistent, bright-green results in hours instead of days.
- Strip leaves from thick, fleshy stems (thick stems hold moisture and slow drying). Small tender stems can stay.
- Spread herbs one layer thick on the trays with space for air to circulate. Use a mesh screen liner for small leaves so they don’t fall through or blow around.
- Set the temperature to 95°F–105°F. Low heat preserves the color, flavor, and oils — high heat cooks herbs and turns them black. In very humid weather you can nudge up to 115°F.
- Most herbs dry in 1–4 hours. Thin leaves like parsley, oregano, and thyme finish fast; fleshy, moisture-heavy herbs like basil and mint can take considerably longer — sometimes 6–12 hours, especially in humid weather. Start checking early.
- Herbs are done when leaves are crispy and crumble easily between your fingers, and stems snap when bent.
Quick Reference: Dehydrator Times by Herb
| Herb | Approximate time at 95–105°F |
|---|---|
| Thyme, oregano, rosemary | 1–3 hours |
| Parsley | 3–5 hours |
| Sage | 3–5 hours |
| Mint | 3–6 hours |
| Basil | 6–12+ hours (fleshy leaves, high moisture) |
Times vary with humidity and how wet the herbs are going in. The crumble test is what counts.
Method 2: Air-Drying
Air-drying is the least expensive method and takes the longest. It works best for low-moisture herbs like marjoram, oregano, rosemary, and dill — fleshy herbs like basil can mold before they dry.
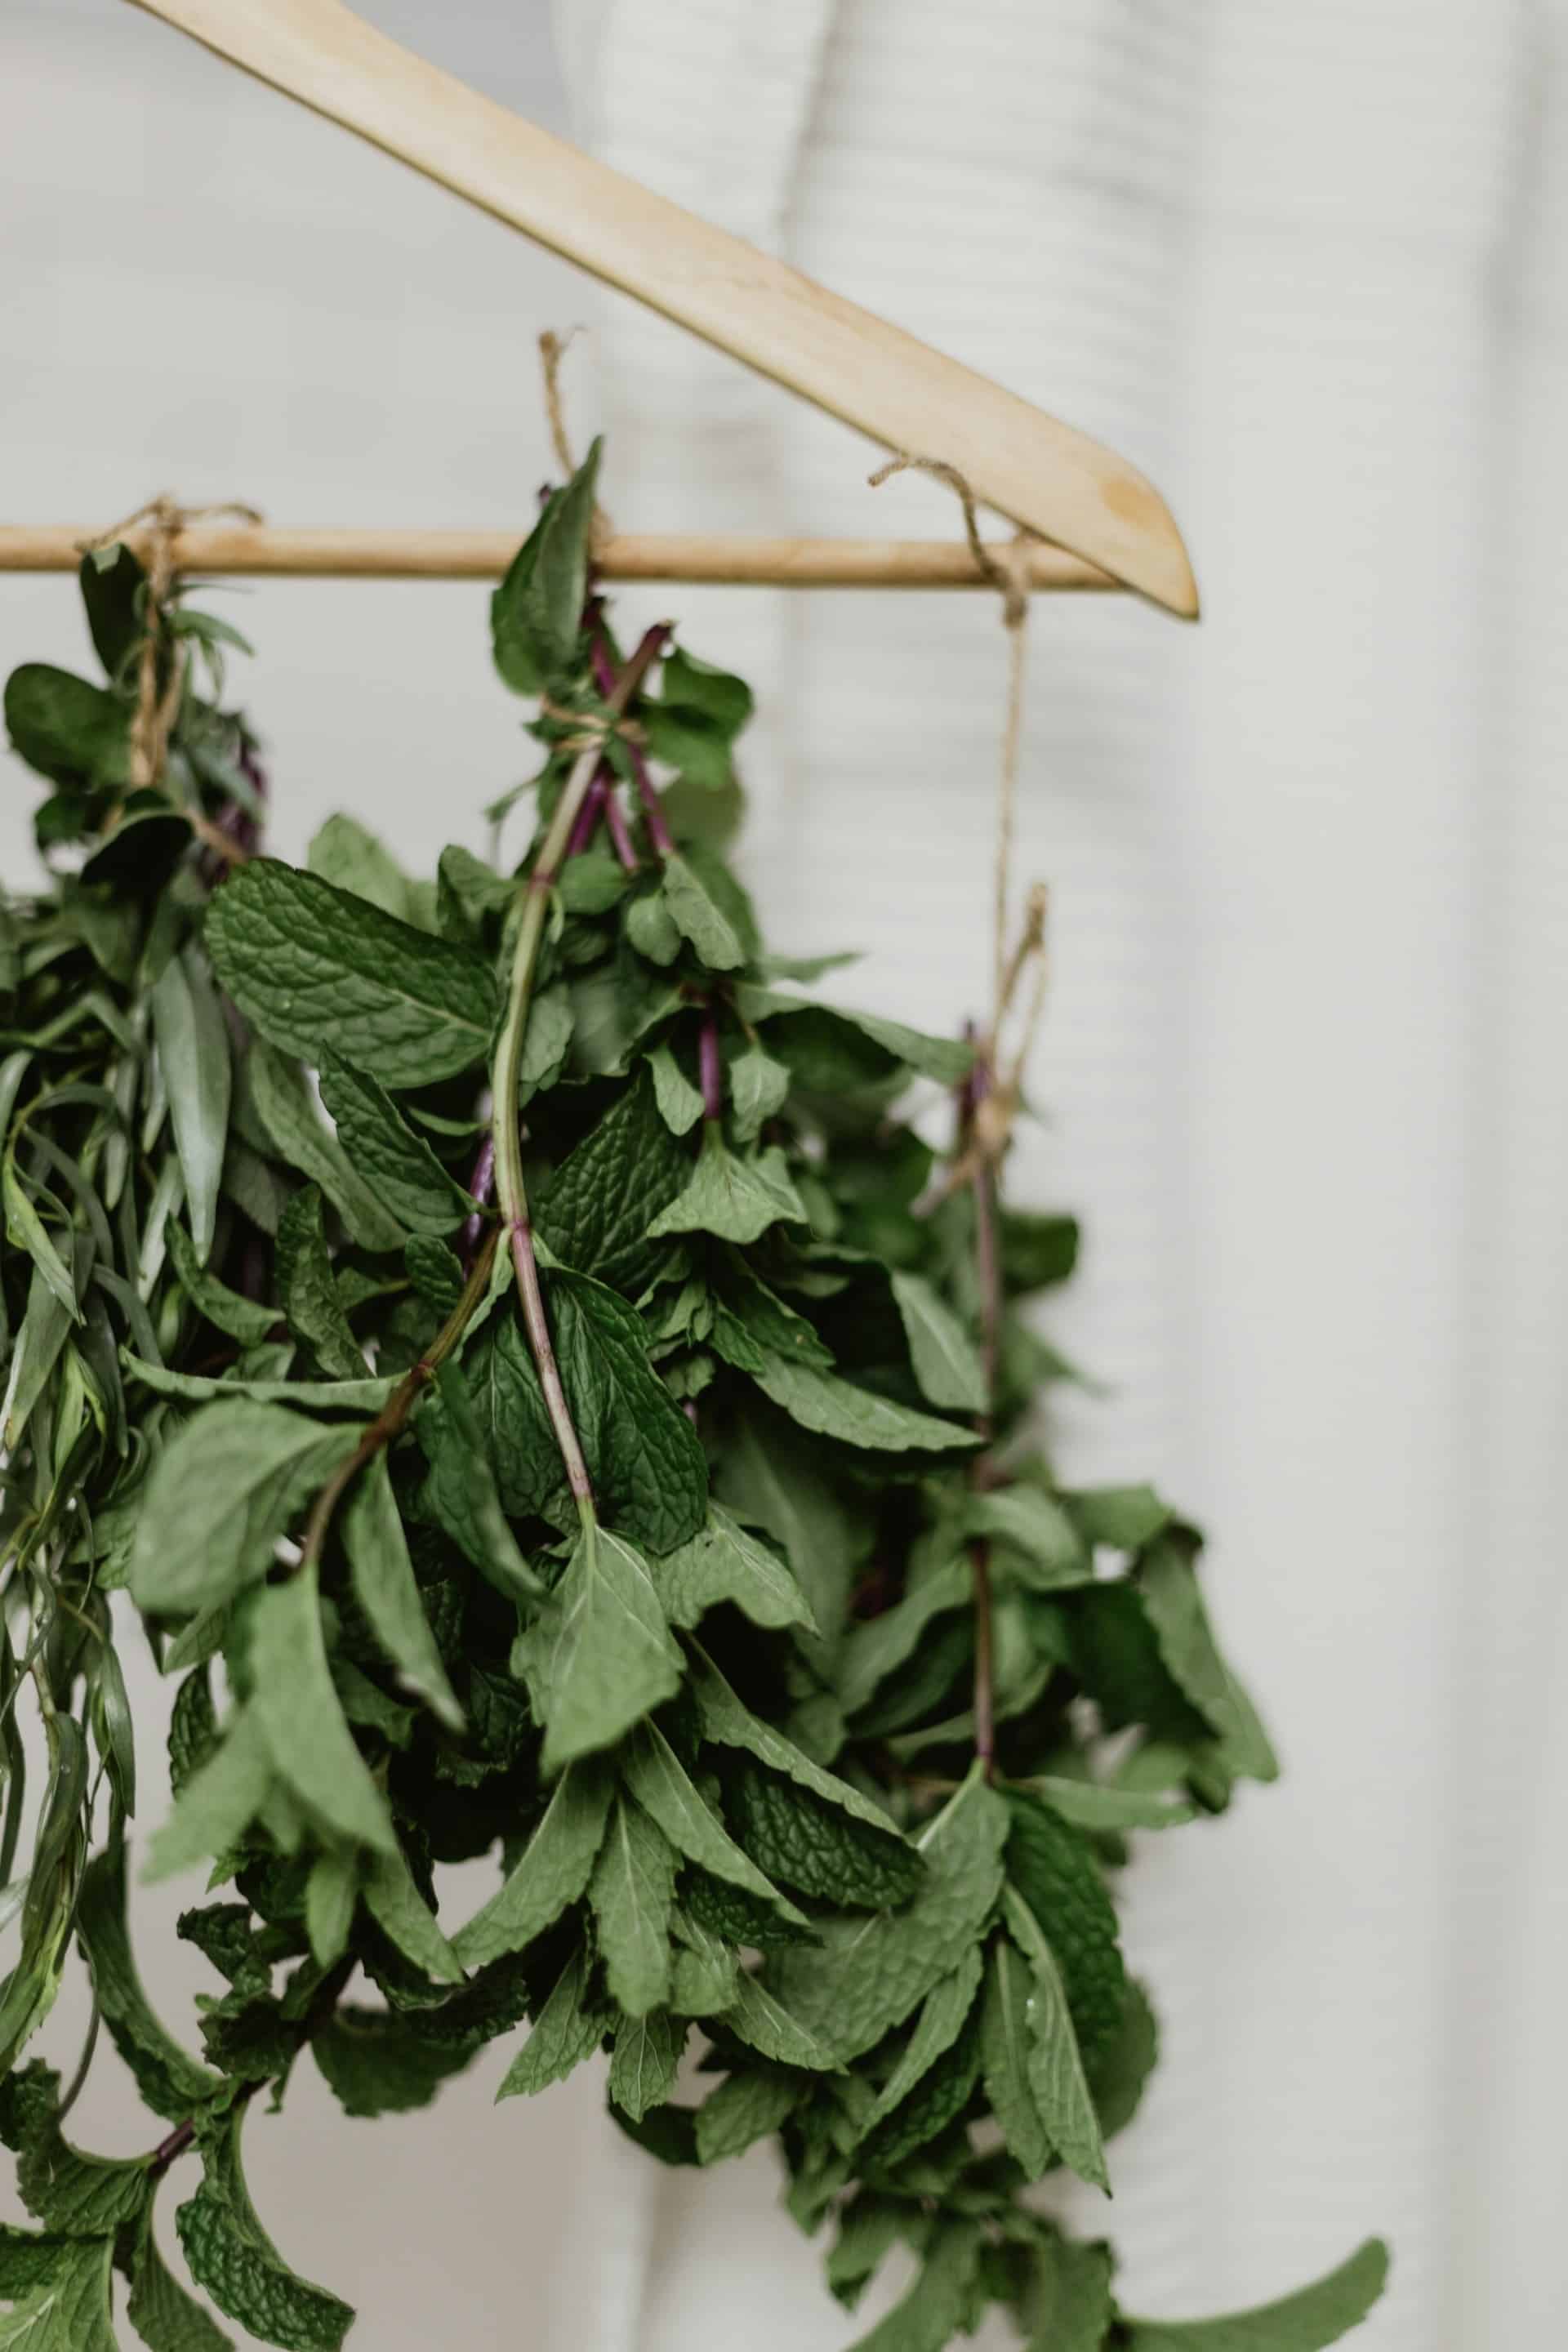
Tie several stems together with string or an elastic band (elastic is better for fleshy stems, which shrink as they dry). Place the bundle stem-side up in a paper bag, tie the bag closed around the stems, and poke a few holes for ventilation. Hang the bag in a warm, dry spot with some natural airflow. In one to two weeks, the herbs will be crispy dry — and any leaves that drop fall right into the bag.
Method 3: Oven Drying
I’ll be honest: I’ve never had good luck with the oven. Most ovens don’t hold a temperature low enough, and the herbs cook instead of dry, turning dark and losing flavor. If you want to try, use your lowest setting with the door cracked (convection fan on if you have one), spread herbs on a cookie sheet, and watch them closely. If you plan to dry herbs more than once or twice a season, a basic dehydrator pays for itself.
Storing Dried Herbs
Pack dried herbs into airtight containers — glass is best, and Ball jars are perfect. For the fullest flavor, store leaves whole and crush them just before using.
For longer storage, I vacuum seal jars with a FoodSaver jar sealer and add an oxygen absorber. Oxygen absorbers are small food-safe packets of iron powder that pull oxygen and moisture out of the sealed jar — oxygen is what degrades the color and potency of dried foods over time. Get absorbers from their packaging into your jars within about 10 minutes, and reseal any unused ones right away.
Using Dried Herbs
Here’s where the magic really happens—using what you’ve so carefully preserved! One thing I always keep in mind: dried herbs are concentrated powerhouses, so you don’t need as much as you’d use fresh. The ratio I follow is simple: use 1 teaspoon dried for every 1 tablespoon fresh a recipe calls for (that’s a 3:1 ratio). It takes a little getting used to, but once you dial it in, you’ll have it down.
When you’re cooking, add your dried herbs early—give them time to rehydrate and release all that flavor into your dish. Save any fresh herbs for finishing touches at the end; they shine brightest that way.
And here’s one of my favorite things about having dried herbs on hand: they make absolutely wonderful gifts. I love blending a custom mix, something like basil, marjoram, thyme, rosemary, parsley, and a little sea salt, and tucking it into small jars or bottles. Your friends and family will think of you every time they use it. It’s such a thoughtful way to share what you’ve grown and preserved.