Step by Step Guide To Sprouting Lentils for Chickens
Learn how to sprout lentils for chickens, this step-by-step guide will show you how to easily grow nutritious lentil sprouts for your backyard flock.

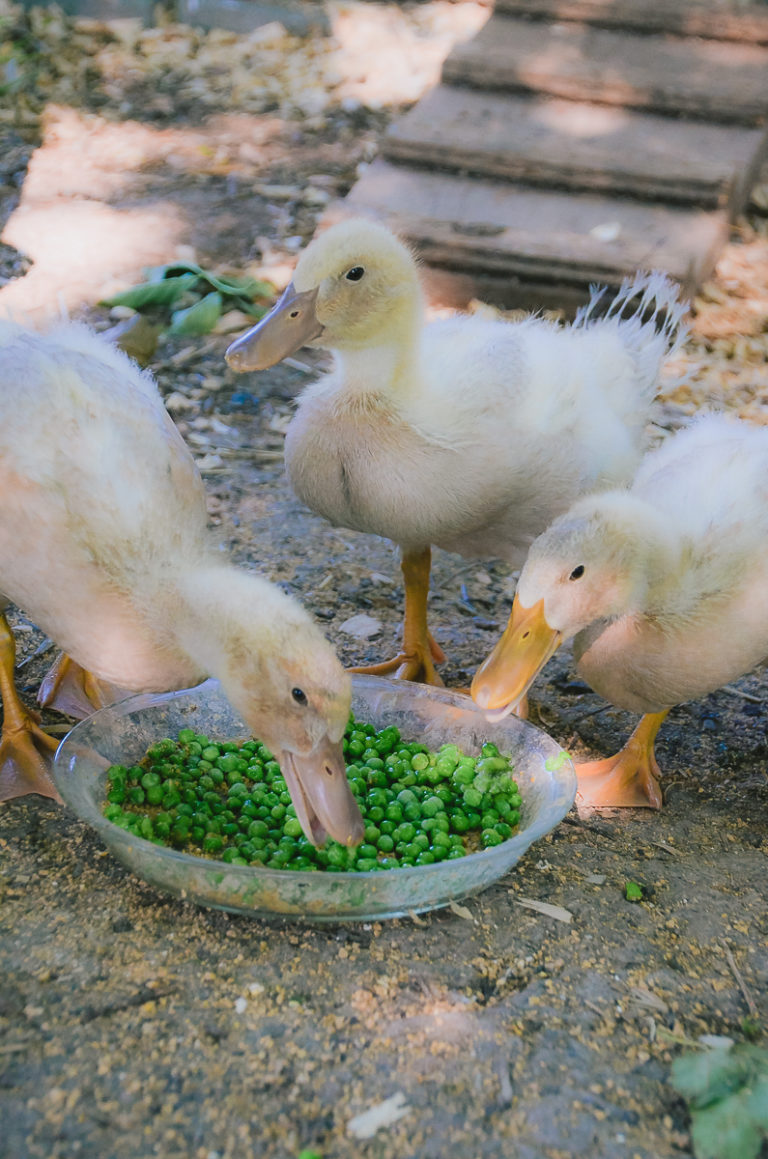
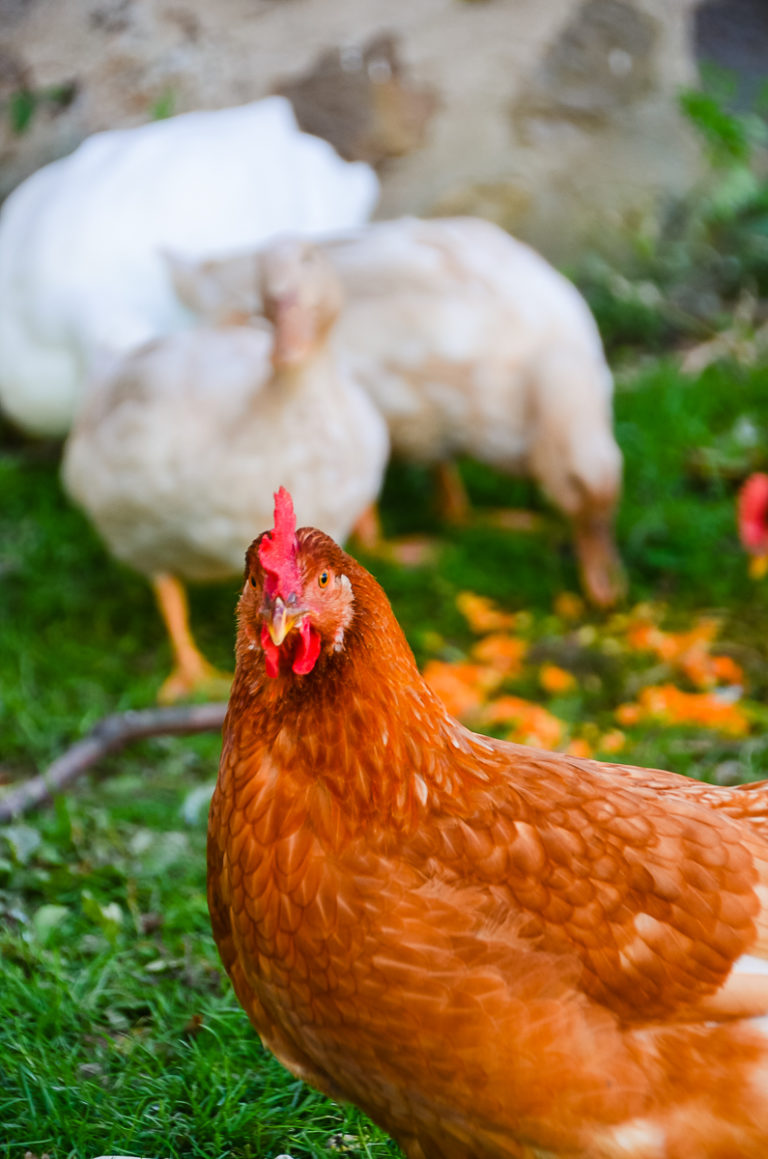
Sprouted Lentils are one of my favorite treats to make my backyard flock of chickens and ducks during winter. My girls love the sprouts; they are easy to make, and you can pick up a bag of lentils cheaply at any grocery store. It takes about 5 minutes daily, and the whole process is pretty straightforward. After the initial soaking of the lentils, which typically lasts overnight, I spend about 5 minutes each day rinsing and draining the sprouts. This helps to keep them fresh and prevents mold from developing. Within a few days, usually between 3 and 5 days, the lentils have sprouted nicely and are ready to be fed to the chickens and ducks, who are happy to have fresh food during winter when foraging options are limited.
Why Sprout Lentils for Your Chickens?
If you are wondering why would anyone go to the trouble of sprouting lentils for their chickens, first let me tell you it is really no trouble at all, you just really need to remember to rinse them. And chickens, absolutely love them! But if you need a few more reasons. Sprouting increases the levels of vitamins (like B vitamins and vitamin C), minerals, and proteins in lentils. This makes them a more nutrient-dense treat for your flock.
And if you toss them about your chicken run like you would scratch grains, foraging for the sprouted lentils can provide mental stimulation for chickens especially during the winter months. It mimics their natural foraging behavior, keeping them engaged and active during a time when we need to think about offering boredom busters to cooped up birds.
Feeding Sprouted Lentils to Chickens
I like to start small when offering any new food to my flock, if they seem to enjoy it without any negative side effects, I gradually increase the quantity and frequency.
It’s important to maintain a balanced diet for your chickens. Sprouted lentils should be viewed as a supplement, not a replacement for their regular feed. Treats, including sprouted lentils, should comprise no more than 10% of the chickens’ total diet, with the bulk of their nutrition coming from a well-balanced poultry feed.
You can offer sprouted lentils daily, adhering to the 10% guideline, ensuring they are a part of a varied diet. Also, be mindful of the freshness of the sprouts; never feed your chickens spoiled or moldy lentils. The appropriate quantity can also vary depending on the size and age of your chickens, with larger or mature chickens requiring more than younger or smaller ones. Monitoring their digestive health through their droppings can offer insights into how well they are tolerating the new food.

Tips for Sprouting Lentils
Sprouting lentils is so easy, and I know your backyard flock will love them! Here are a few tips if you are new to sprouting.
- Select the Right Lentils: Look for whole lentils in the grocery store. Split lentils won’t sprout as they’re already broken. I have the best luck with green lentils. Green lentils typically run about $2 and some change and Aldi.
- Keep Things Clean: Before starting, ensure your mason jars, sprouting lids or cheesecloth, and all utensils are thoroughly clean. This minimizes the risk of bacterial contamination. Wash jars well in between batches, to make sure everything stays hygienic.
- Rinse Well: Thoroughly rinse the lentils before soaking them. This step helps to remove any dust, debris, or potential contaminants.
- Don’t Overcrowd the Jar: Lentils expand significantly as they sprout. Use only 1/3 cup of lentils for a quart-sized mason jar. This gives the lentils enough space to grow.
- Soaking Time Matters: For the first soak 8-12 hours of soaking is ideal. Over-soaking can lead to overly soft lentils that might not sprout well.
- Ensure Adequate Draining: After each rinse, make sure to drain the lentils completely. Excess water can cause mold and spoilage.
- Rinse Regularly: Rinse the lentils at least once a day to keep them moist and clean. This step is crucial for healthy sprout growth.
- Watch the Temperature: Sprouts grow best in mild temperatures. Too hot, and they might dry out or become slimy; too cold, and they might not sprout properly.
- Store Sprouts Properly: Once sprouted to your liking, store them in a clean, airtight container in the fridge. They usually stay fresh for about a week.
- Be Patient and Observant: Sprouting is a natural process that can vary depending on the lentils and environmental conditions.
- Start Small: If you’re new to sprouting, start with a small batch to get the hang of the process before scaling up.
- Keep a Rotation Going: Once you get going, you can have a few jars sprouting at the same time.
Sprouting Lentils Step-by-Step
Day 1: Soaking
Rinse 1/3 cup of lentils under cold water to remove any debris. Place the rinsed lentils in a wide mouth mason jar. Add about 2 cups of water, the actual water amount is unimportant though, just make sure the lentils are well covered. Soak them overnight or for about 8-12 hours.
Day 2: Draining and Rinsing
After the initial overnight soaking, drain the water using a strainer. Rinse the lentils by adding water back to the jar, swishing a bit and draining again. Use a piece of cheesecloth or a sprouting lid to cover the jar. This allows air to circulate while keeping contaminants out. I like to lay the jay on it’s side with the mouth of the jar at a slight upward angle to allow good air circulation and prevent any excess water from leaking out. You can do this by placing the jar in a bowl or a dish rack.
Day 2-5: Daily Rinsing and Draining
During the next few days all you need to do is rinse and drain your jar of lentils, and keep an eye out for mold growth or any sort of bad smelling odor.
Day 5-6: Harvesting
Once the sprouts have reached your desired length, usually in about 3-5 days, they are ready to feed to your chickens. Before you offer the sprouted lentils rinse them one last time.
Tips To Get The Best Sprouted Lentils:
Sprouting lentils is pretty easy, but here are some tips to help you.
- Hygiene: Always use clean equipment to prevent bacterial growth.
- Temperature: Room temperature (around 70°F or 21°C) is ideal for sprouting.
- Light: Sprouts don’t need sunlight but a little indirect light on the last day can help develop some green color.

How To Sprout Lentil For Chickens
A easy and frugal treat for your backyard flock. Ready in 3-5 days.
Materials
- Mason jars
- Lentils
- Sprouting lids or cheesecloth
- Jar Bands
- Fresh water
Tools
- Measuring Cup
Instructions
DAY 1: SOAKING
- Rinse the Lentils: Rinse 1/3 cup of lentils under cold water to remove any debris.
- Place the rinsed lentils in a wide mouth mason jar. Add about 2 cups of water, ensuring the lentils are well covered. Soak them overnight or for about 8-12 hours.
DAY 2: DRAINING AND RINSING
- Drain the Lentils: After soaking, drain the water using a strainer.
- Rinse the lentils by adding water back to the jar, swishing a bit and draining again.
Cover the Jar: Use a piece of cheesecloth or a sprouting lid to cover the jar. This allows air to circulate while keeping contaminants out. - Place the Jar on its side at a slight angle: Placing the jar on its side allows the sprouted lentils to spread out more evenly. This increased surface area means better air flow to a larger amount of lentils. I like to keep the mouth of the jar slightly elevated to prevent any excess water from dripping out. You can do this by placing the jar in a bowl or a dish rack.
DAY 2-5: DAILY RINSING AND DRAINING
- Rinse and Drain Once a Day: Rinse the lentils with fresh water at least once a day. After each rinse, ensure you drain them well and return them to their side laying position.
- Watch Them Sprout: Over the next 2-3 days, you will see the lentils start to sprout. The sprouts are typically ready when they are about ¼ to ½ inch long.
DAY 5-6: HARVESTING
- Ready to Harvest: Once the sprouts have reached your desired length, usually in about 3-5 days, they are ready to feed to your chickens.
- Final Rinse: Give the sprouts a final rinse and drain them well.
- Storing Sprouts: Store your lentil sprouts in the refrigerator. They typically last for about a week.
Notes
Tips:
- Hygiene: Always use clean equipment to prevent bacterial growth.
- Temperature: Room temperature (around 70°F or 21°C) is ideal for sprouting.
- Light: Sprouts don't need sunlight but a little indirect light on the last day can help develop some green color.


