Secrets and tips for perfect cut-out cookies

I want to let you in on a little secret, for many many years I flat-out avoided making cut out cookies. I had whole batches that instantly made their way into my garbage can, some spread to much and where unrecognizable as the holiday symbol they were supposed to be, some baked unevenly, and some never even made it to the oven without cracking and falling apart. It never really occurred to me what the problem was until one day when I was making a pie for Thanksgiving. There is one simple thing that could solve all my cookie problems, the cookie did not have to crumble anymore.
I know you are on edge of your seat wondering, so I will not keep you waiting. The answer to all my cut out cookie problems was refrigeration.
Secrets and tips for perfect cut-out cookies
- Check out my favoriteCut Out Cookie Recipe Here it’s a keeper!
- Right after the sugar cookie dough has mix divide it into more manageable working portions.

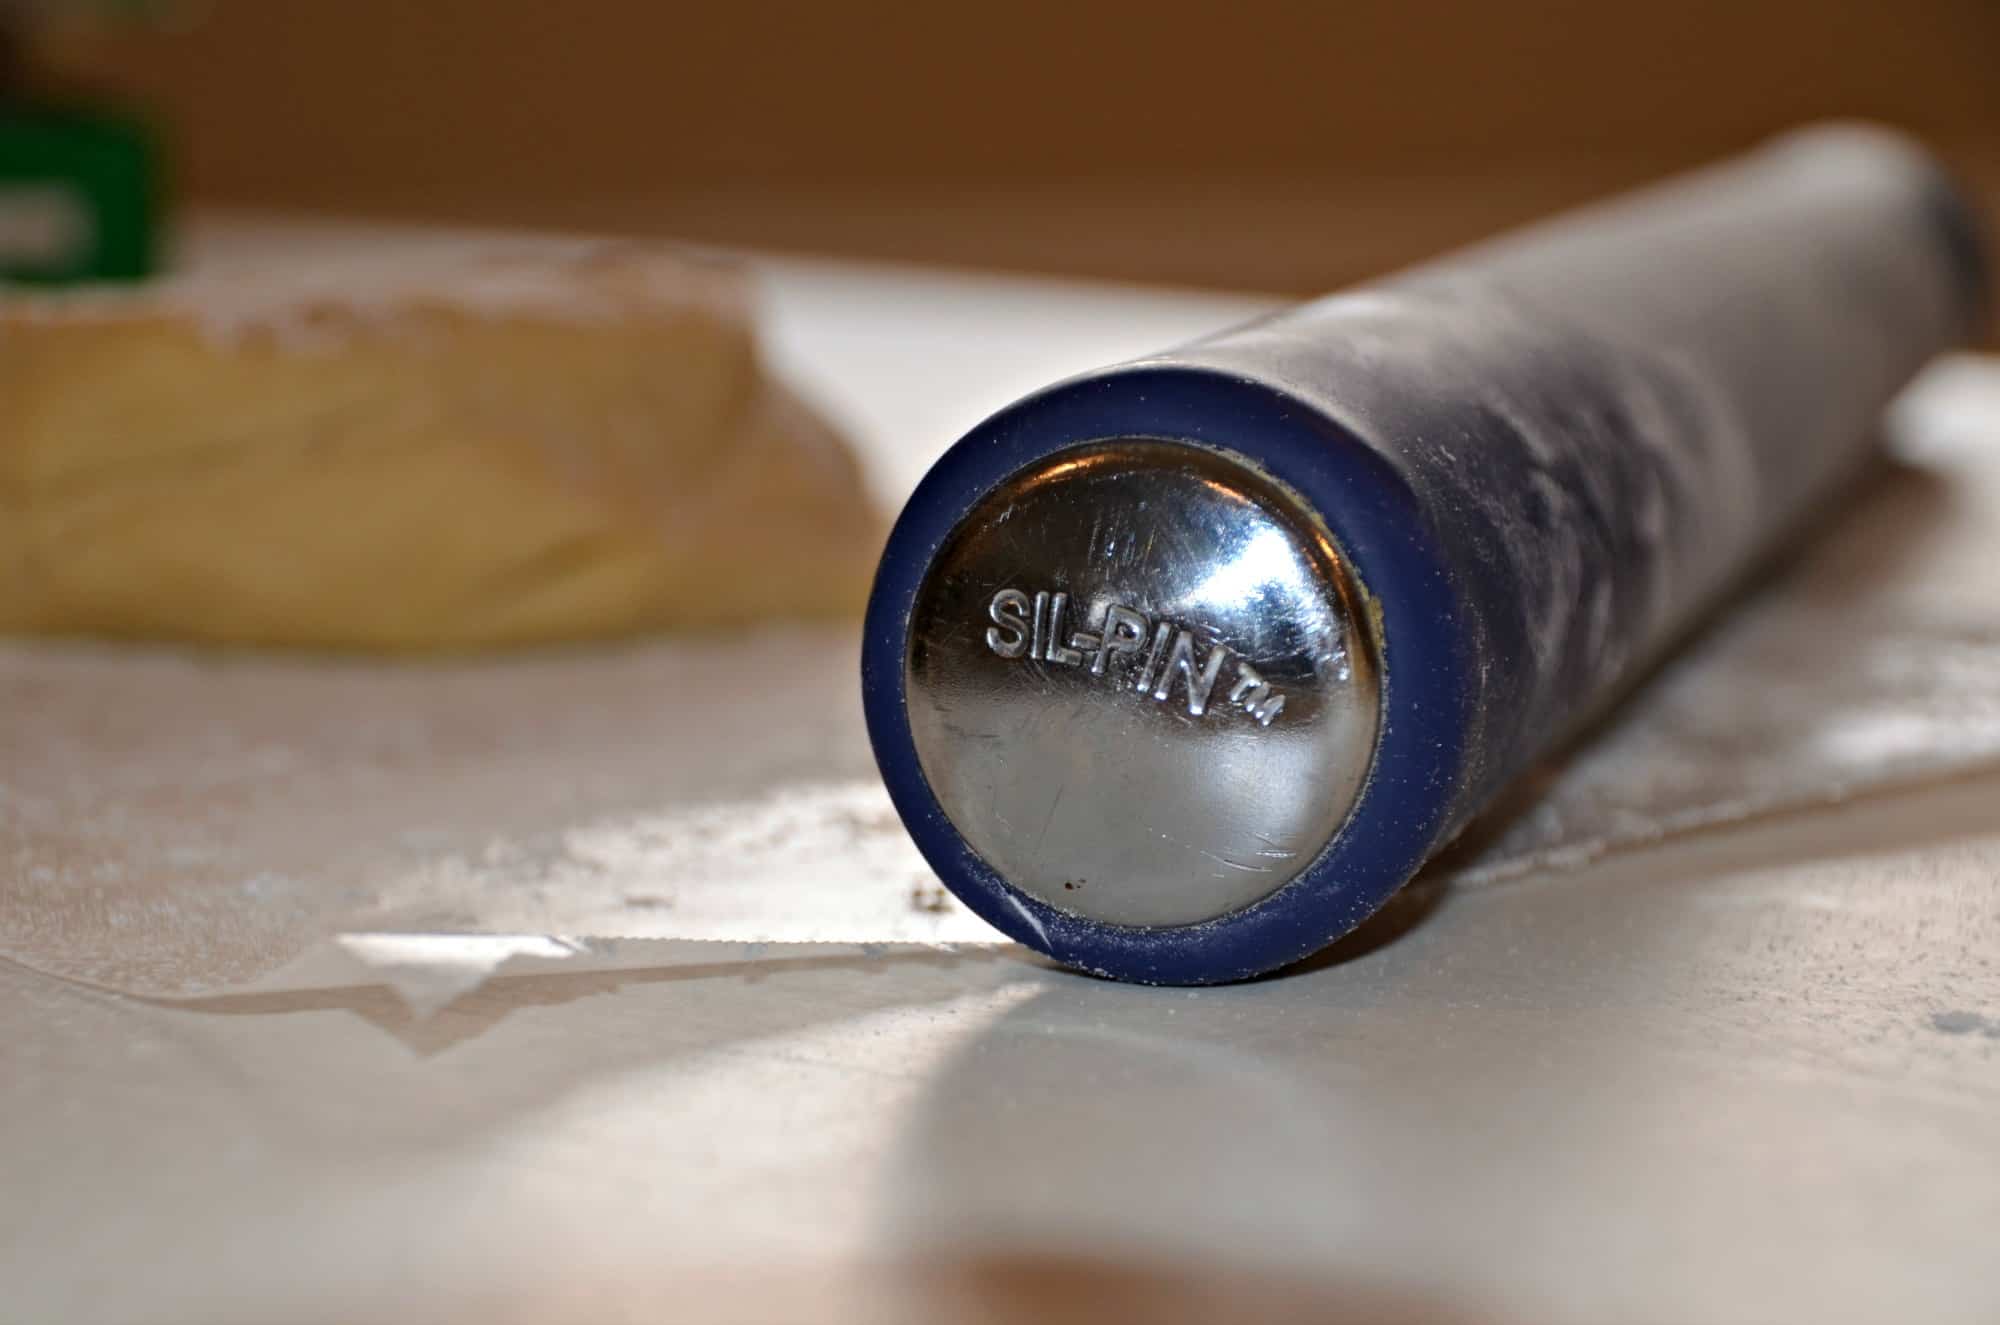
- I immediately roll my dough out onto a lightly floured piece of wax paper. I like to roll my cookies out a 1/4 of a thickness. A few years ago I bought a Sil-pin Baker’s Style Professional 20″ Silicone Rolling Pin, Red
, the hubs just about had a cow when I told him I spent $45 on a rolling-pin, but really it was worth every penny. It requires a lot less flour to keep dough from sticking. And the silicone doesn’t have pores that can trap food particles or bacteria.

I also have Casabella Silicone Rolling Pin Spacer Bands, these where very helpful, and really taught me what an evenly rolled piece of dough looks and feels like. I have found I don’t depend on the spacer bands anymore, but they were a good learning tool.
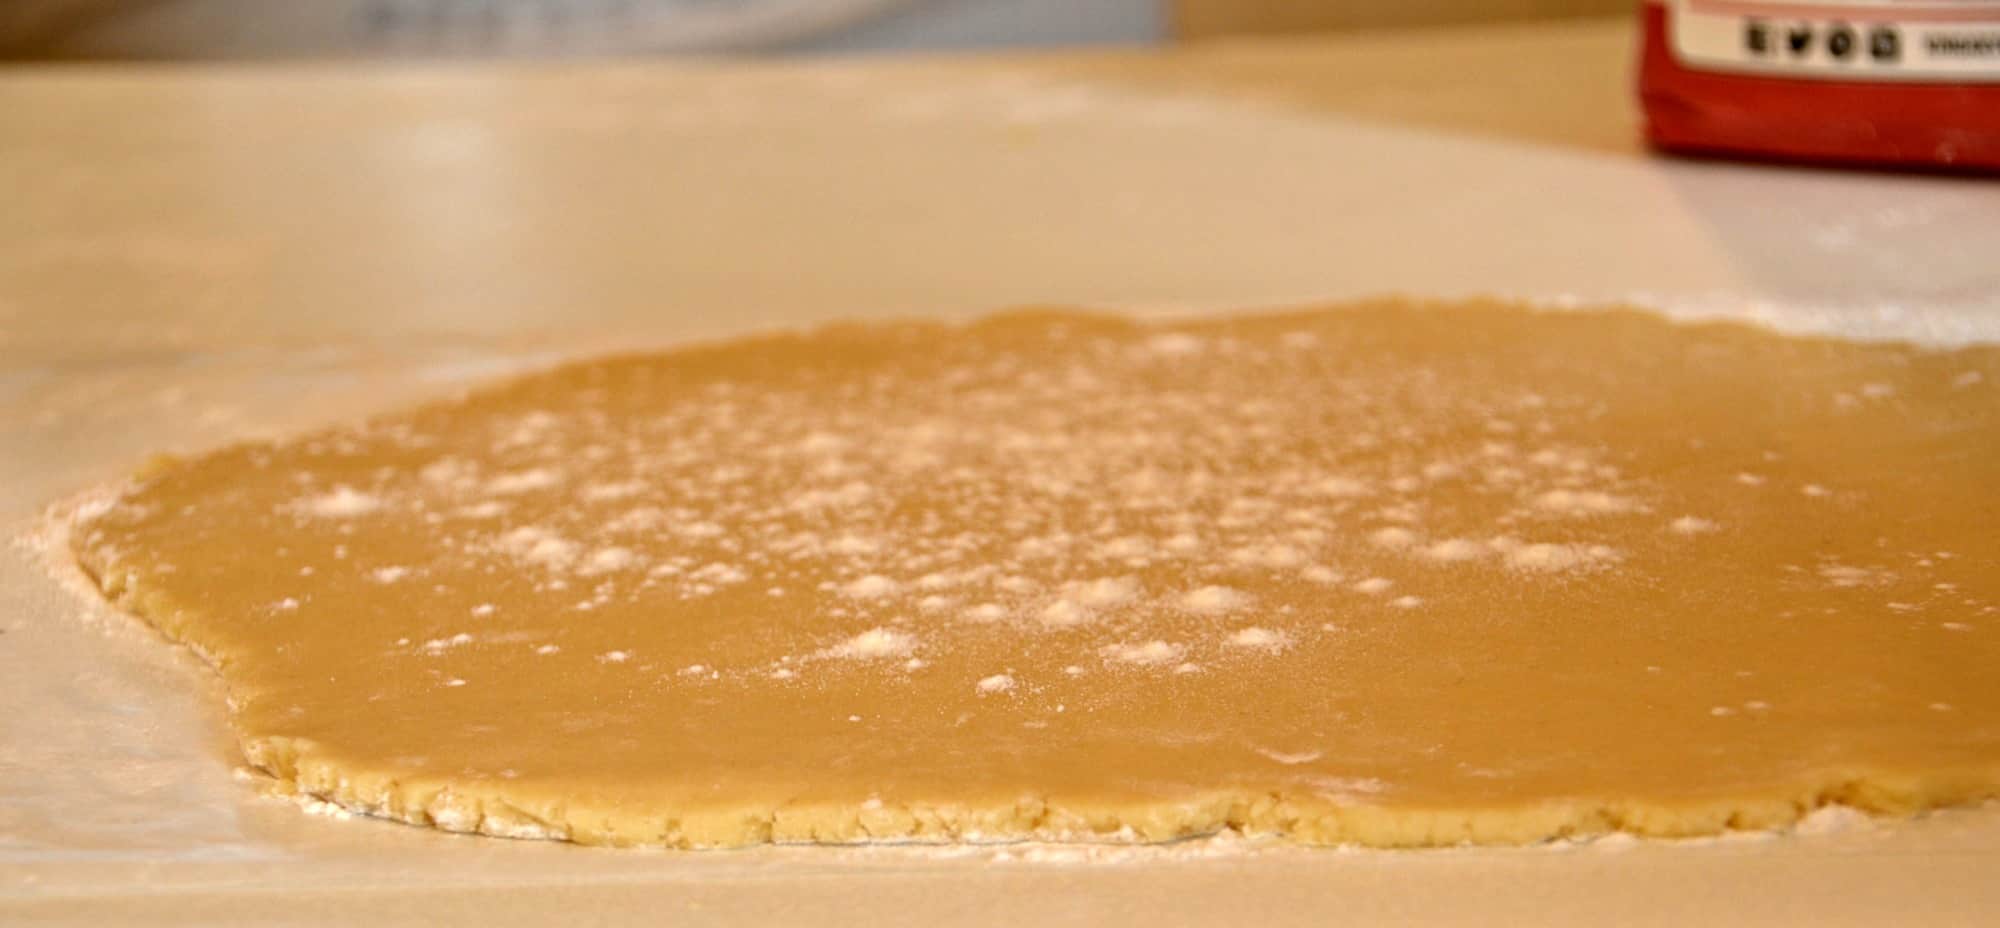
- Lightly flour the top of the rolled dough and place a second piece of wax paper on the top of the dough and place on a cookie sheet. Roll all the dough sections out in the same manner, and stack the dough separated by the wax paper on a cookie sheet.

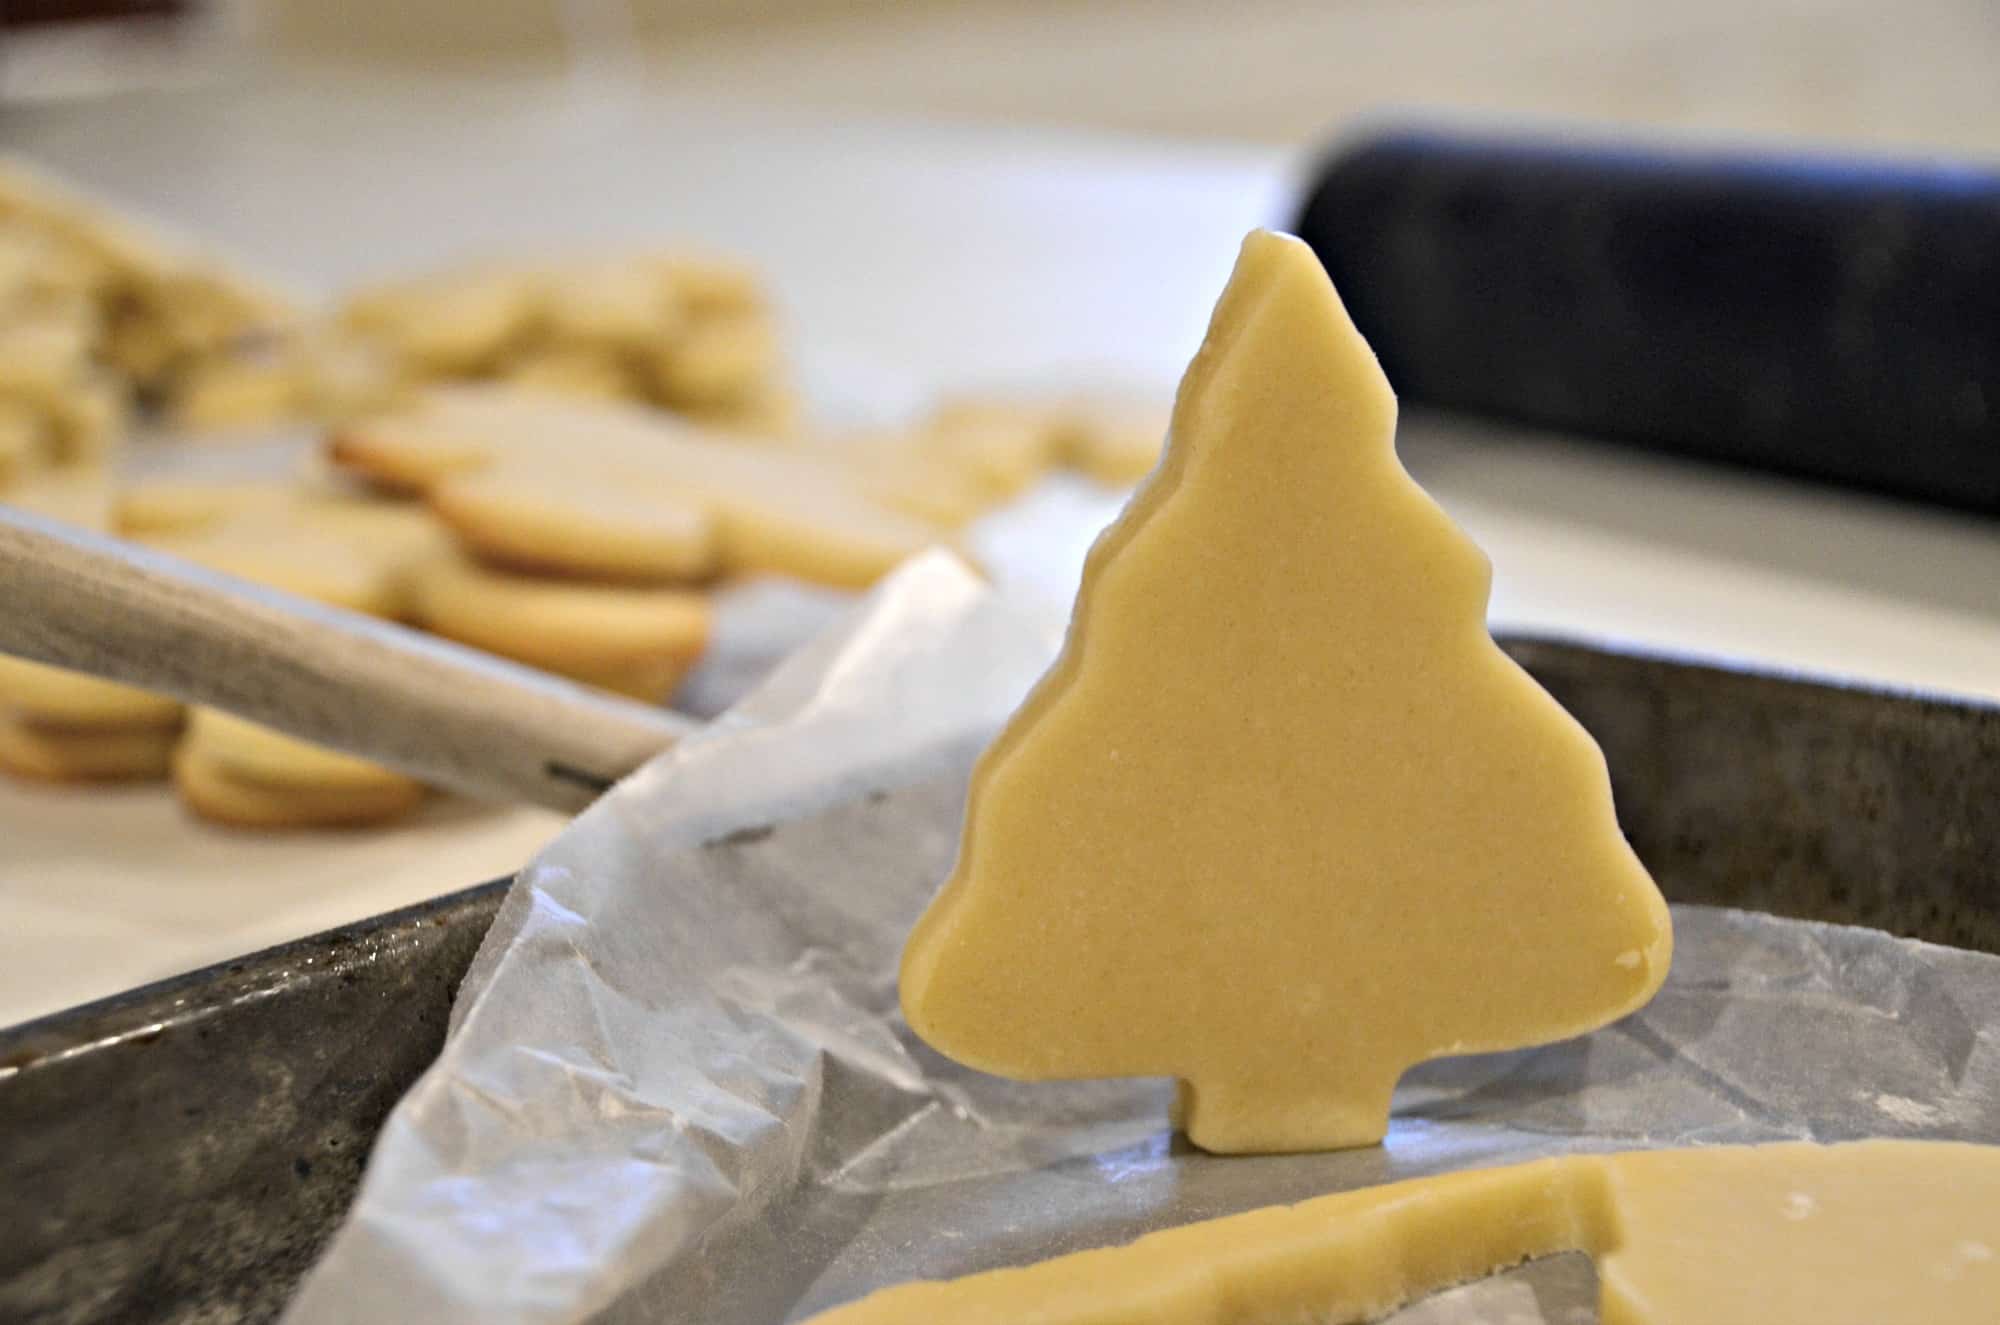
- After rolling the cookie dough it should chill in the refrigerator for a minimum of 1 hour before making the cookies. Place the cookie sheet with the stacked dough in the fridge. This extra step of chilling the dough helps the cookies cut out cleanly and helps them their shape when they are being transferred to the baking sheet. As you cut out and bake the cookies any dough you are not currently using should be kept in the refrigerator. You really want the butter to set back up and have a firm dough to work with. You can see below my cookie dough is very firm and the cookie will stand and hold its shape. 🙂
- Not all cookie cutters are created equally. As far as I am concerned the only thing plastic cookie cutters are good for is play-doh . Metal cookie cutters make a much cleaner cut. I really like Wilton Cookie Cutters
. One of my favorite cookie cutters is the Wilton Snowflake Comfort Grip Cookie Cutter, it makes an impressive extra-large cookie and the Comfort Grip is a nice cushion when you are pushing the cutter through the chilled dough.
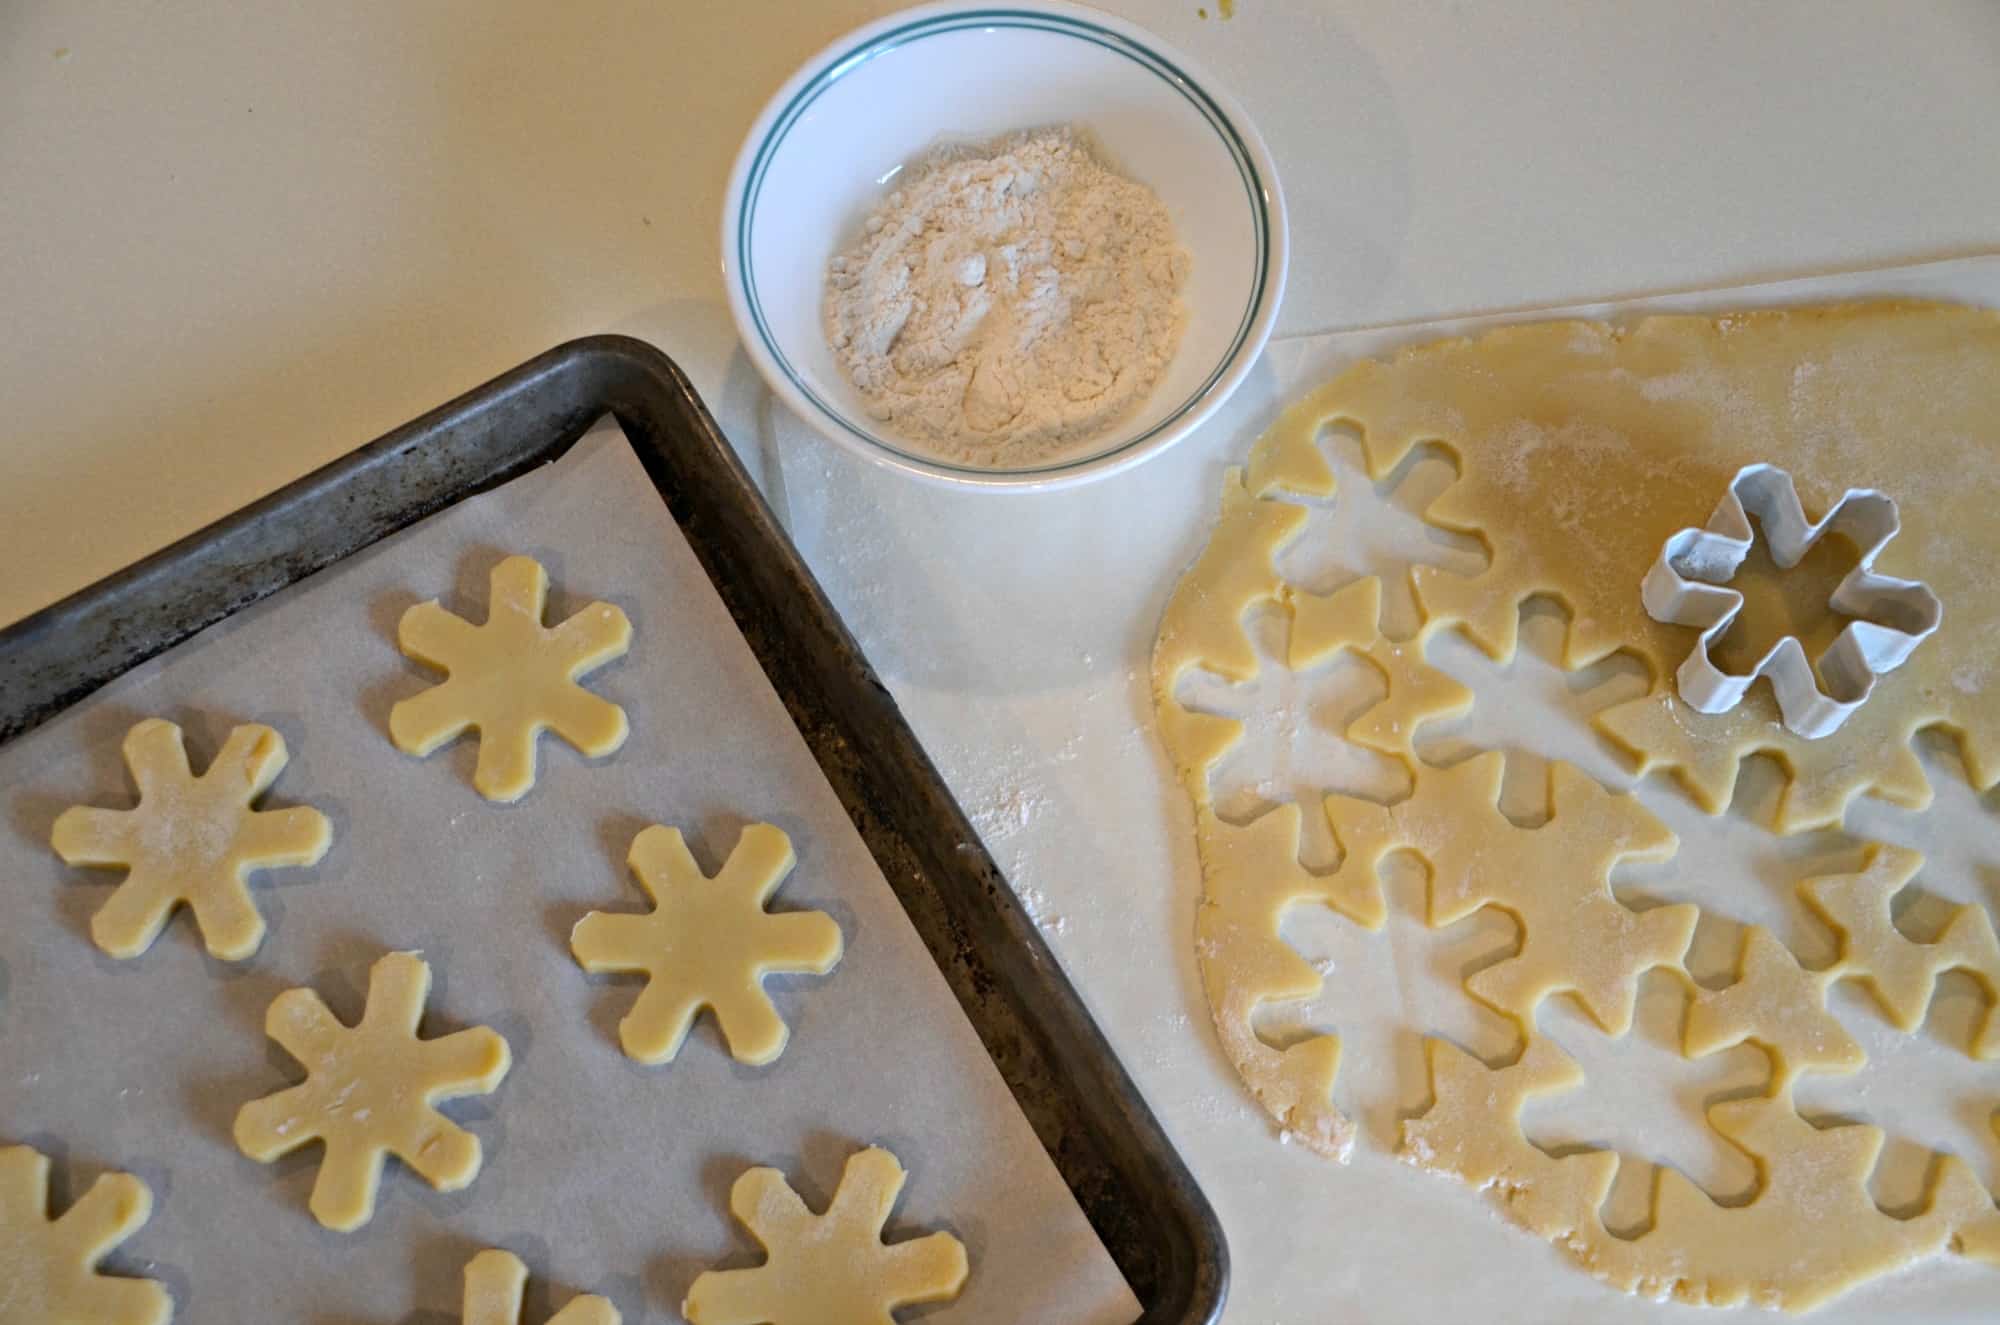
- As you cut out your cookies make sure to flour your cookie cutter as you work, this will make removing the cookie from the cutter easier.
- After your cookies have been transferred to the cookie sheet if the dough warms up while you are cutting out the cookies and goes a little soft. Place the cookie sheet in the freezer for 5 minutes, or until the butter re-solidifies and the cookies firm up again. This will guarantee the cookies will not spread or distort while they are baking.
- When baking the cookies DO NOT OVER BAKE! My recipe calls for a baking time of 6-8 minutes. Monitor the first batch closely, I start checking in on them around 4 minutes into the baking time. The cookies are done baking and need to be removed from the oven BEFORE you see the edges of the cookies turn brown .
- Kneed the dough scraps after cutting out your cookies, and repeat the refrigeration and chilling in the freezer. The extra steps may seem like a lot of extra time, but trust me you will get compliments!


I bought a 3 pc, set of intricate snowflake cutters (1st time cutter experience) and have had several different problems:
1. the dough was too warm and would not transfer to baking sheet,
2. I refrigerated dough, rolled to 1/4″ thick, dipped cutters in flour but cookie would not release from cutter.
3. the almost best result was using 1/4 of chilled dough rolled on tight sheet of plastic wrap, cut out shapes, (this is before they stuck completely to cutters) but do not try to remove. transfer plastic wrapped dough to small tray and place in freezer 3 minutes. remove from freezer. Area around cookies breaks away easily. The intricate inner design sometimes releases but others do not. Should I give up and use cutters for decoration or is there a solution to make intricate cookies?
Love your hints and ideas